Learn how to add prints to Windows 11

The newly released Windows 11 offers a variety of new features. One of these features is the installation and addition of cable or wireless printers.
If you are a new user of Windows 11, join LyonTech to learn how to install a printer on this Windows.


Windows 11 installation tutorial
Learn how to add a cable printer to Windows 11
Today, installing a printer on a computer is an easy process. All you have to do is set up the printer to connect to the computer. To do this, cable USB Connect the printer to the computer port.
Then turn on the printer. Windows should automatically install the printer drives. If this does not happen, do the following steps manually:
- Windows 11 has a center for various settings, including updates. You need a panel to install the printer System Setting Open.
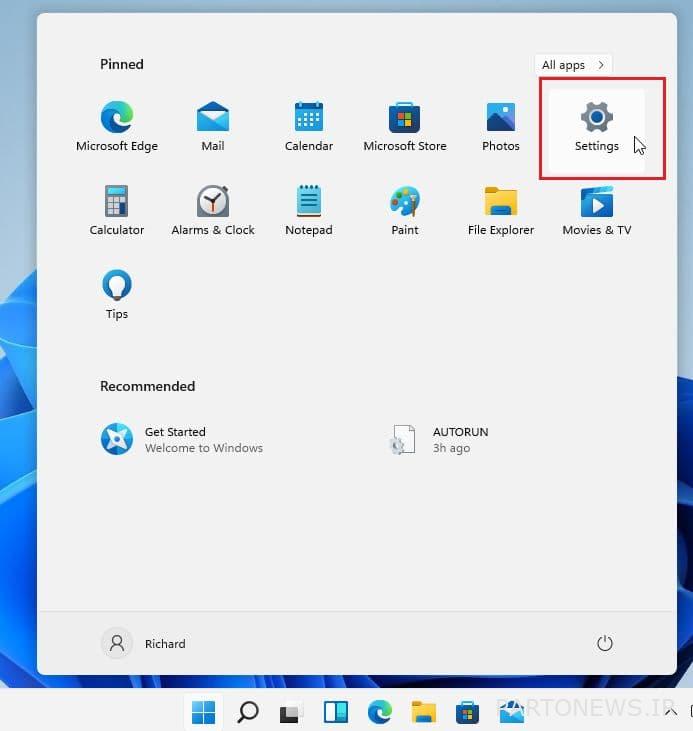
- To open the sting system panel, the keys Windows + i Press. Or on Start Windows and later Setting click.
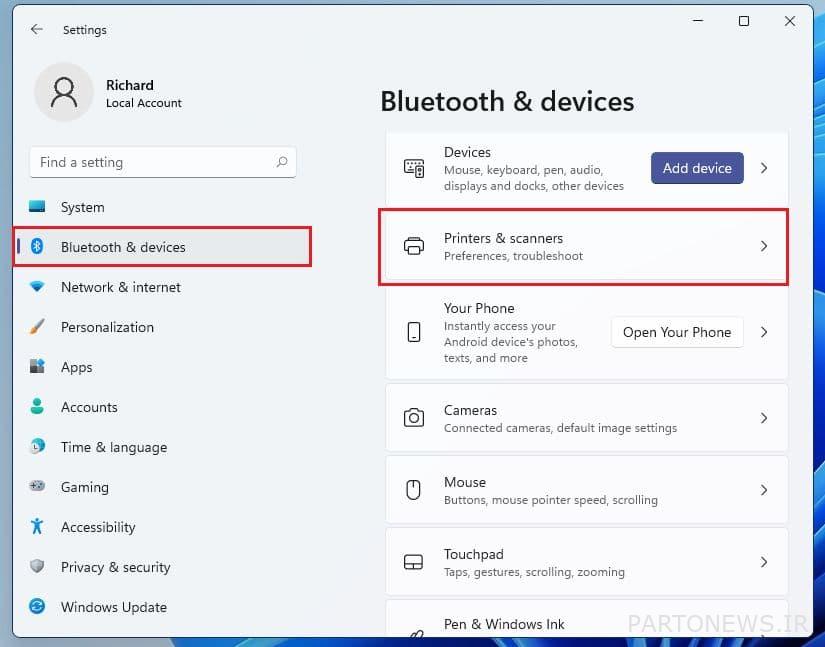
- The Windows settings panel should look like the one below. First option Bluetooth & Devices Tap. Then from the menu that opens, Printers & Scanners Choose.
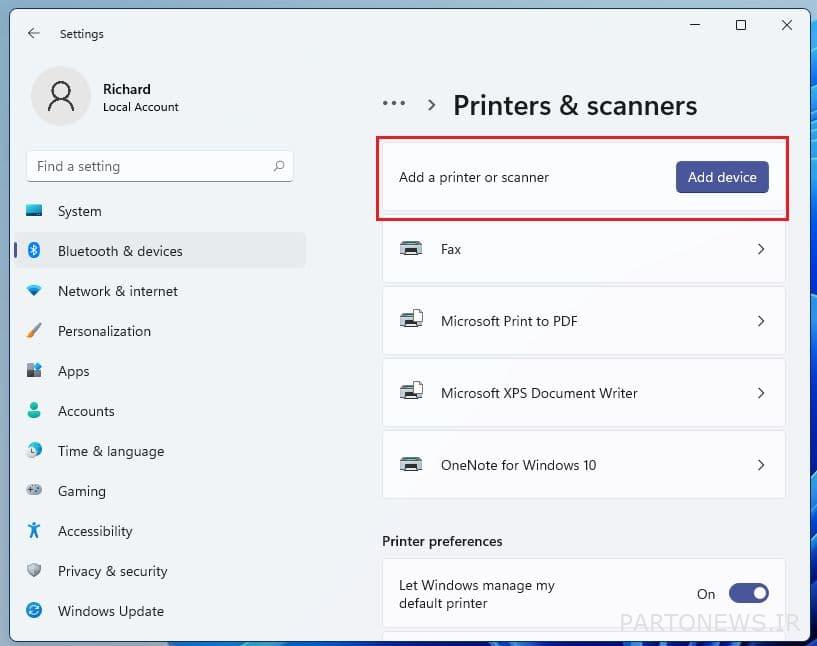
Open Windows Settings - by choosing Bluetooth & Devices Other options are found. Get rid of them Add a Printer or a scanner Choose.
- Wait for Windows 11 to detect surrounding devices and printers. After the list of devices, select the printer you want and tap Add Device click.
- If you get the message “The printer I want was not in the list”, press the button Add manually Click as shown below.

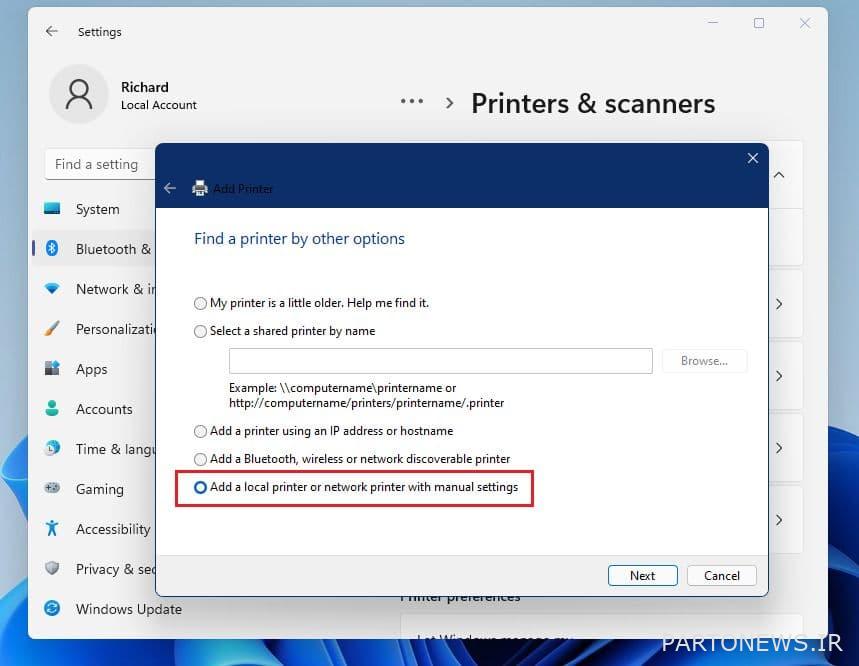
- From the opened page option Add a local printer or network printer with manual settings Choose.
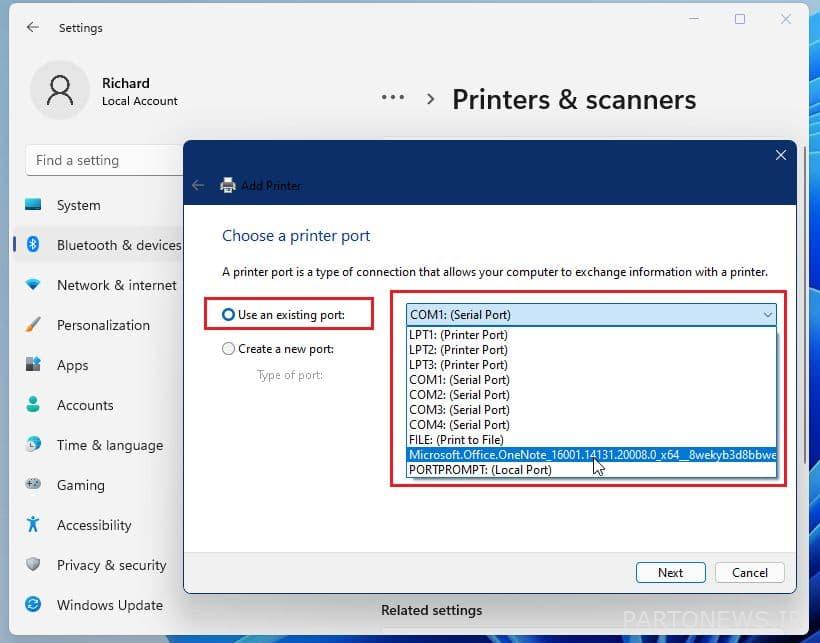
- Then from the two options before you, Use an existing post Select and from the list of ports facing it, select the port to which the printer is connected.
If CD Or you have a link to download your printer drivers, enter it. After completing all these steps by pressing the button Have Disk Look for the driver location as shown below.

Once you find the correct folder for the printer drivers, install it. Finally, test the printer once to make sure it is working properly.
Learn how to add a wireless printer to Windows 11
Some printers are wireless and only work with a network or Wi-Fi connection. A printer that is connected to a Wi-Fi or network is usually detected by Windows.
Windows 11 can find all printers on the network, including Bluetooth or printers connected to other devices. However, to connect it manually, follow these steps:
- Click Start and then Options Setting, Later Devices And finally Printers & scanners Choose.
- option Add a printer or a scanner Press. Wait for Windows to detect surrounding printers. Then select the device you want and Add device Tap.
- As before if your printer is not in the list option The printer that I want isn’t listed Press to enter the printer manually.
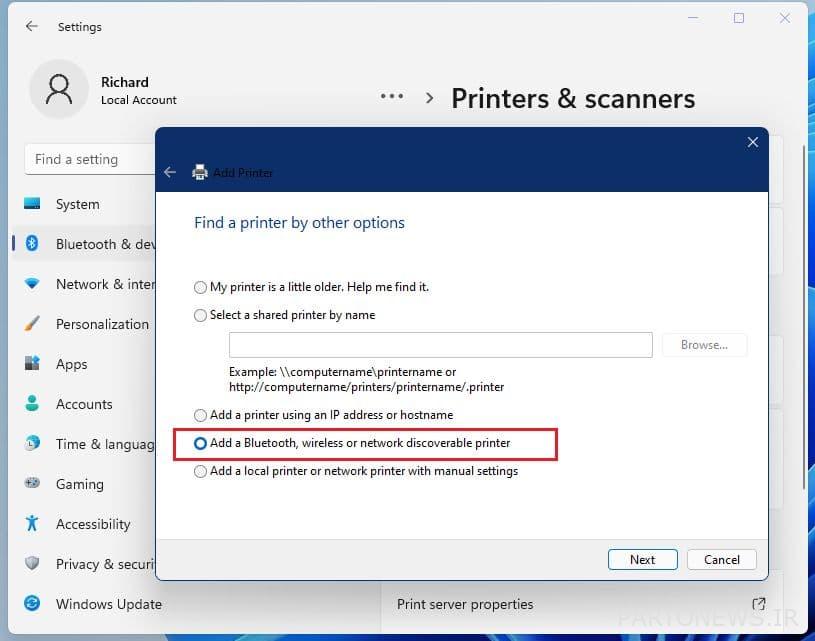
- From the available page options you can Add a Bluetooth, wireless or network discoverable printer Choose.
If all the above steps do not help to add a printer, read your printer manual to learn how to install it on Windows.
We are waiting for your comments. If this article was helpful to you, share it with others.