Learn how to add a printer to Windows 10

To speed up your work, you can connect your printer to your Windows laptop or computer. Learn how to add a printer to Windows 10 Be with Lyon Tak.
Learn how to add a printer to Windows 10
As you know, printers have two types: cable and wireless. We will teach you how to connect both models of printers.


Learn how to add a cable printer
- Using wire USB Connect the printer to your computer and turn it on.
- From the Start menu Setting Open.
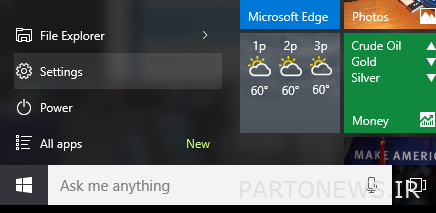
- To the episode Devices Click.

- Then the option Add a printer or scanner Choose.
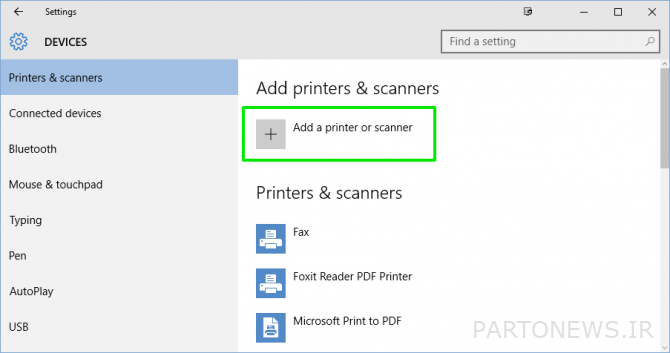
- If Windows detects your printer, click on its name to install it. If Windows does not find the printer, follow the steps below.
- On the link The printer that I want isn’t listed hit.
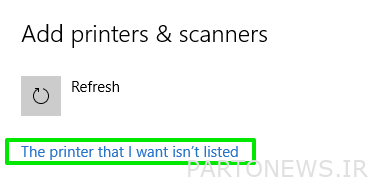
- A window will open for you with different options. In this section you can select options My printer is a little older. Help me find it Tap to guide your system.

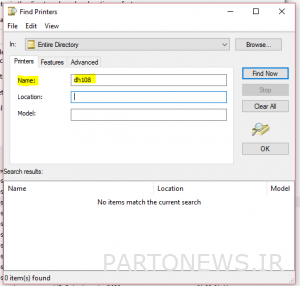
- Or you can option Find a printer in the directory, based on location or features Tap. Taping this option will open another window for you.
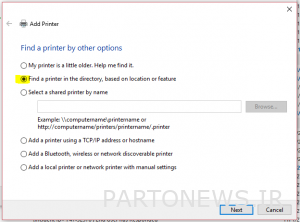
- In this window, you must enter the name of the printer, its location and its model, respectively. Then the option Find now Tap to find the printer system.
If all of the above steps do not help, contact your printer support for the necessary instructions.
Learn how to add a wireless printer
Your printer software may be pre-installed and you do not need to connect it. But if the software is not installed, start from the first step.
- First print the printer by one USB Connect to your system and let the software install.
- Enter the installation panel from the printer touch screen. This part can be below Setup with name Wireless LAN Setting Be.
- Select your WiFi network. To do this you need to SSID You have your Wi-Fi, which is displayed by placing the mouse on the Wi-Fi icon.
- Then enter your WiFi password.
- Eventually Setting Open and enter the section Printers & scanners Become. If everything goes well, you will see the name of your printer in this section.
Sometimes you do all the steps but the device can not find the printer. The printer may not be close enough to the modem or Internet network. Replace it.
If you still have problems, like the previous time of the option The printer that I want isn’t listed Use.
Learn how to add a shared printer
Windows has a feature called Home Networking, in which it shares all the printers and special files with other devices connected to your Internet network.
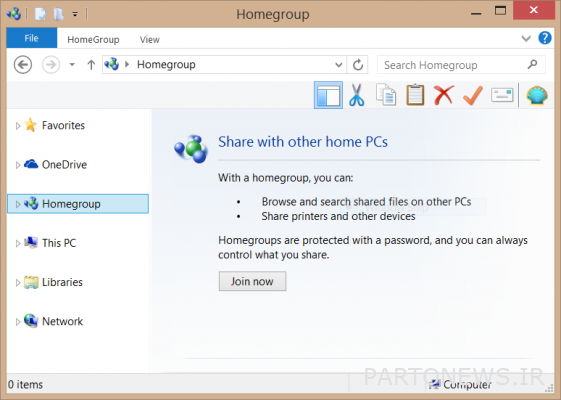
If the feature HomeGroup Skip steps 1 through 3. If not, join us from the beginning.
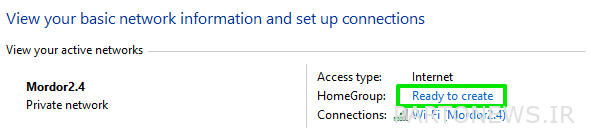
- From the bottom bar, tap the icon wireless Click and then Open Network and Sharing Center Tap.

- near HomeGroup On the option Ready to create click. If there is already a home network, message “Joined” Writes the meaning of entering.
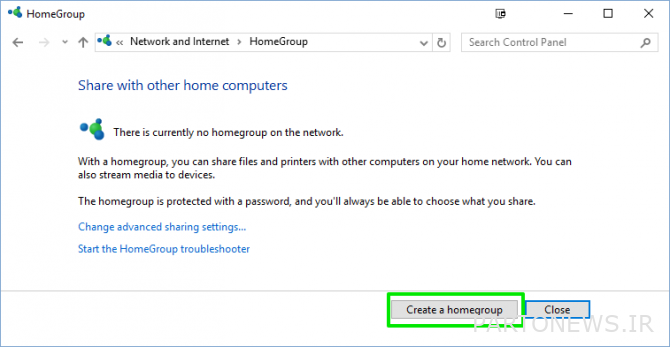
- If there is no group, you can hit Create a HomeGroup Build a home network and button Next Tap.
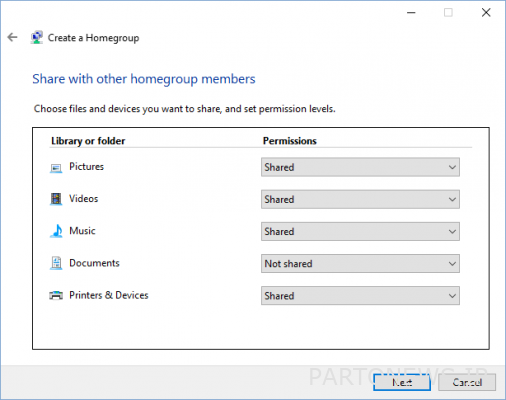
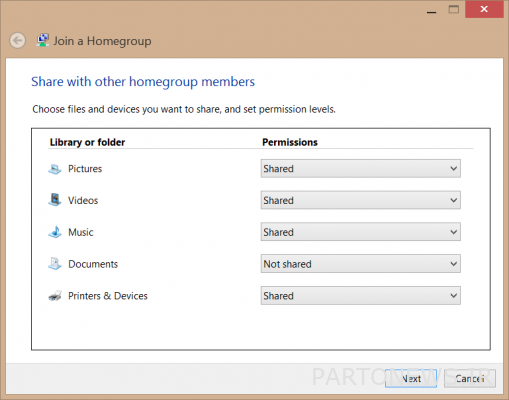
- The window that opens indicates what devices you want to share.
- Windows creates a password for this network that is written below. Write down this password. Because everyone must have a password to use your printer.
- at the end Finish Tap and use your printer.
Connect to a shared printer
- Enter the section with another computer HomeGroup Enter the button join now Tap.
- Select the printer you want to connect to. After entering the password, press the button Finish Tap.
- Ward Computer Go to the section Network click. You should see a shared printer there.
We hope you find this article useful. We are waiting for your comments.